


Hey there! As a kitchen rack supplier, I've seen firsthand how a well - installed kitchen rack can transform a kitchen. It not only provides much - needed storage but also adds a touch of organization and style. Today, I'm gonna share with you the best way to install a kitchen rack on a concrete wall.
Why Install on a Concrete Wall?
First off, let's talk about why you might want to install your kitchen rack on a concrete wall. Concrete walls are sturdy and can handle the weight of a fully loaded kitchen rack. They're also less likely to flex or move compared to drywall, which means your rack will stay in place for a long time. Whether you're storing heavy pots and pans or a collection of spices, a concrete wall provides a reliable base.

Tools and Materials You'll Need
Before you start the installation process, you'll need to gather the right tools and materials. Here's a list of what you'll typically need:
- Drill: A good quality drill is essential for making holes in the concrete. I recommend a hammer drill, as it's specifically designed to handle concrete and will make the drilling process much easier.
- Masonry Bits: These are special drill bits designed for use on concrete. Make sure to choose the right size for the anchors you'll be using.
- Anchors: There are different types of anchors available, such as plastic expansion anchors and metal toggle bolts. The type you choose will depend on the weight of your kitchen rack and the type of items you'll be storing on it.
- Screwdriver: You'll need a screwdriver to attach the rack to the anchors once they're in place.
- Level: A level is crucial to ensure that your rack is installed straight. This will not only make it look better but also ensure that it functions properly.
- Measuring Tape: Use a measuring tape to mark the exact location where you want to install the rack. This will help you ensure that it's centered and at the right height.
Step - by - Step Installation Process
Step 1: Plan the Location
The first step is to decide where you want to install your kitchen rack. Consider the height and accessibility. You'll want to place it at a height that's easy for you to reach, especially if you'll be storing frequently used items. Use your measuring tape to mark the location on the wall. Make sure to measure twice to avoid any mistakes.
Step 2: Mark the Holes
Once you've decided on the location, use a pencil to mark the spots where you'll be drilling the holes. Most kitchen racks come with a template that you can use to ensure that the holes are in the right place. Place the template on the wall and trace the holes with a pencil.
Step 3: Drill the Holes
Put on your safety goggles and gloves before you start drilling. Insert the appropriate masonry bit into your drill. Start drilling slowly at first to create a pilot hole, then increase the speed. Apply steady pressure, but don't force the drill. If you encounter any resistance, stop and check to make sure the bit is in good condition. Drill the holes to the appropriate depth for the anchors you're using.
Step 4: Insert the Anchors
After drilling the holes, insert the anchors into the holes. If you're using plastic expansion anchors, simply tap them into place with a hammer until they're flush with the wall. For metal toggle bolts, you'll need to open the wings inside the wall and then tighten the bolt to secure it.
Step 5: Attach the Rack
Once the anchors are in place, it's time to attach the kitchen rack. Line up the holes in the rack with the anchors on the wall. Insert the screws through the holes in the rack and into the anchors. Use your screwdriver to tighten the screws, but be careful not to overtighten them, as this could damage the rack or the wall.
Step 6: Check the Level
After attaching the rack, use your level to check if it's straight. If it's not, loosen the screws slightly and adjust the position of the rack until it's level. Then, tighten the screws again.
Tips for a Successful Installation
- Test the Rack: Before loading your rack with heavy items, give it a gentle shake to make sure it's securely attached to the wall.
- Clean the Wall: Make sure the wall is clean and free of dust and debris before you start drilling. This will help the anchors adhere better.
- Use a Stud Finder: If possible, try to locate the studs in the wall. Installing the rack into a stud provides even more support.
Our Kitchen Racks
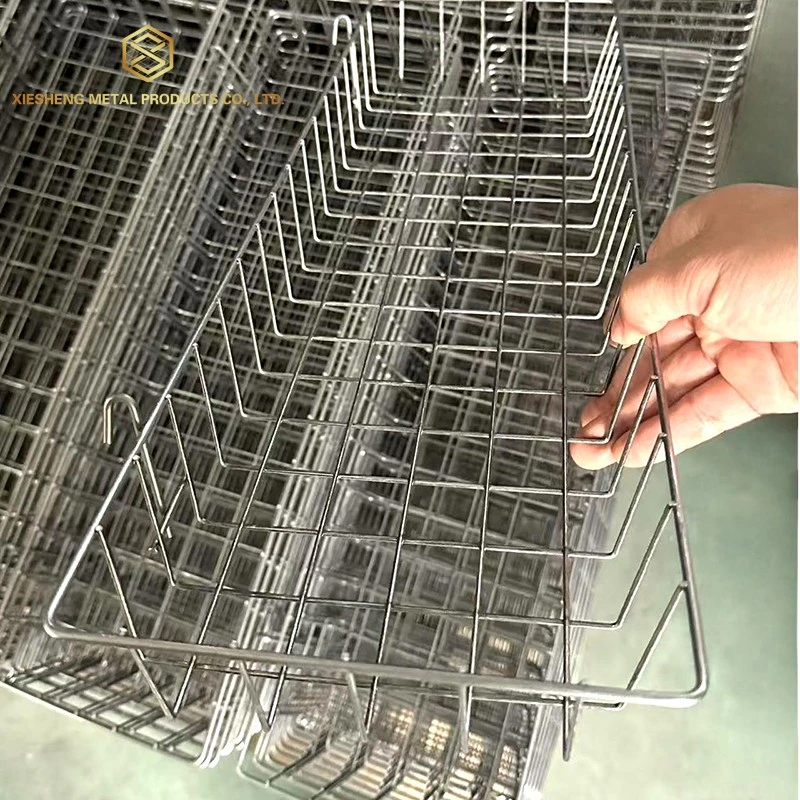
As a kitchen rack supplier, we offer a wide range of high - quality kitchen racks that are perfect for any kitchen. Whether you're looking for a simple, minimalist design or a more elaborate one with multiple tiers and compartments, we've got you covered. Our racks are made from durable materials that can withstand the rigors of daily use.
If you're also interested in other types of storage solutions, we have some great options for you. Check out our Display Rack for a stylish way to showcase your items. Our Display Props can add an extra touch of flair to your displays. And if you're looking for a more industrial - style storage solution, our Tube Shelving is a great choice.
Conclusion
Installing a kitchen rack on a concrete wall might seem like a daunting task, but with the right tools, materials, and a little bit of know - how, it can be a relatively straightforward process. By following the steps outlined in this blog post, you'll be able to install your kitchen rack securely and enjoy the benefits of a more organized kitchen.
If you're interested in purchasing a kitchen rack or have any questions about the installation process, don't hesitate to reach out. We're here to help you find the perfect solution for your kitchen storage needs. Let's start a conversation and see how we can make your kitchen more functional and beautiful.
References
- Home Depot. "How to Install Shelves on Concrete Walls."
- Lowe's. "Concrete Wall Installation Guide."


