


A cracked closet shelf can be a real eyesore and may even pose a safety hazard if left unrepaired. As a seasoned closet shelf supplier, I've encountered various issues with shelves over the years, and I'm here to share some practical tips on how to repair a cracked closet shelf. In this blog post, I'll guide you through the process step by step, from assessing the damage to choosing the right materials and tools.
Step 1: Assess the Damage
The first step in repairing a cracked closet shelf is to assess the extent of the damage. Minor cracks that are less than 1/8 inch wide and do not affect the structural integrity of the shelf can often be repaired with simple DIY methods. However, if the crack is wider than 1/8 inch, runs along the length of the shelf, or if the shelf is sagging or unstable, it may be a sign of more serious damage, and you may need to replace the entire shelf.
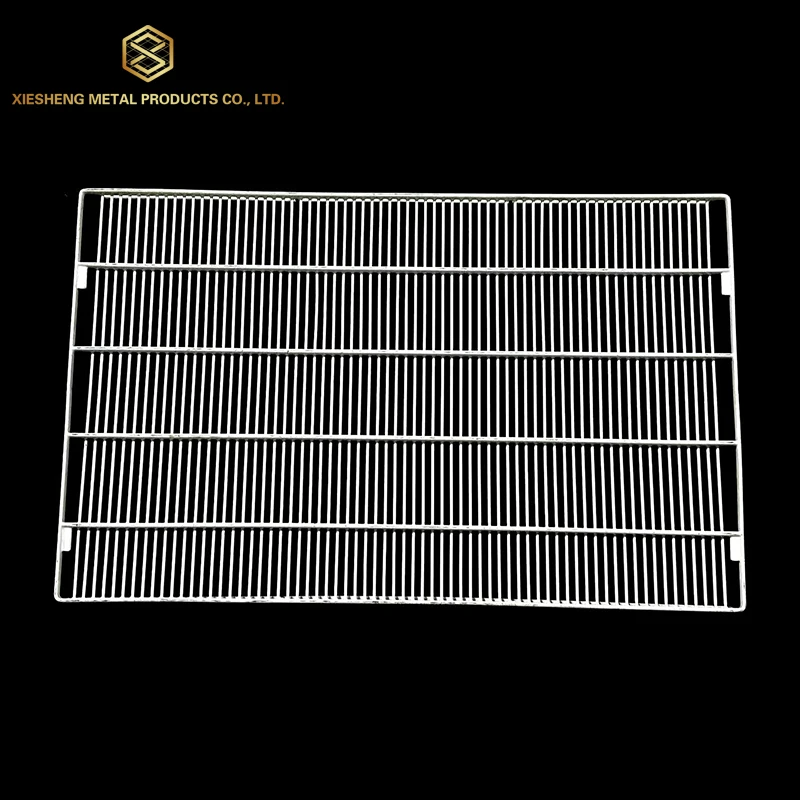

To assess the damage, carefully examine the crack. Look for signs of splintering, warping, or other damage to the surrounding area. If the crack is located near the edge of the shelf, it may be more prone to spreading, so it's important to address it as soon as possible.
Step 2: Gather the Necessary Materials and Tools
Once you've assessed the damage, it's time to gather the necessary materials and tools for the repair. Here's a list of items you'll need:
- Wood filler or epoxy resin: Depending on the type of crack and the material of the shelf, you'll need either wood filler or epoxy resin to fill the crack. Wood filler is a good choice for minor cracks in wooden shelves, while epoxy resin is more suitable for larger cracks or for shelves made of other materials, such as particleboard or MDF.
- Sandpaper: You'll need sandpaper to smooth the surface of the shelf before and after applying the filler or resin. Choose sandpaper with a grit of 120 to 220 for the initial sanding and a finer grit of 320 to 400 for the final sanding.
- Putty knife: A putty knife is used to apply the wood filler or epoxy resin to the crack. Choose a putty knife with a flexible blade that can easily conform to the shape of the crack.
- Clamps: If the crack is large or if you're using epoxy resin, you may need clamps to hold the shelf together while the resin cures. Make sure the clamps are strong enough to apply even pressure to the crack.
- Paint or stain: Once the repair is complete, you may want to paint or stain the shelf to match the rest of the closet. Choose a paint or stain that is compatible with the material of the shelf and the existing finish.
Step 3: Prepare the Shelf for Repair
Before applying the wood filler or epoxy resin, you'll need to prepare the shelf for repair. Here's how:
- Clean the crack: Use a vacuum cleaner or a brush to remove any dust, debris, or loose wood fibers from the crack. Make sure the crack is completely clean and dry before proceeding.
- Sand the surface: Use sandpaper to smooth the surface of the shelf around the crack. This will help the wood filler or epoxy resin adhere better to the shelf. Be careful not to sand too much, as this can damage the surface of the shelf.
- Mask the surrounding area: If you're using a paint or stain to finish the shelf, you'll need to mask the surrounding area to prevent the filler or resin from getting on the rest of the closet. Use painter's tape to mask the area around the crack.
Step 4: Fill the Crack
Now it's time to fill the crack with wood filler or epoxy resin. Here's how:
- Apply the filler or resin: Using a putty knife, apply the wood filler or epoxy resin to the crack, making sure to fill it completely. Use the putty knife to smooth the surface of the filler or resin, removing any excess material.
- Let the filler or resin cure: Follow the manufacturer's instructions for the curing time of the wood filler or epoxy resin. This can range from a few hours to several days, depending on the type of product and the temperature and humidity of the environment.
- Sand the surface: Once the filler or resin has cured, use sandpaper to smooth the surface of the shelf. Start with a coarse grit sandpaper and gradually work your way up to a finer grit sandpaper for a smooth finish.
Step 5: Finish the Shelf
After filling and sanding the crack, it's time to finish the shelf to match the rest of the closet. Here's how:
- Paint or stain the shelf: If you're using a paint or stain to finish the shelf, apply it according to the manufacturer's instructions. Make sure to apply multiple coats for a durable and even finish.
- Let the paint or stain dry: Allow the paint or stain to dry completely before using the shelf. This can take several hours to several days, depending on the type of product and the temperature and humidity of the environment.
- Remove the masking tape: Once the paint or stain has dried, carefully remove the masking tape from the surrounding area.
Step 6: Prevent Future Damage
To prevent future damage to your closet shelves, here are some tips:
- Avoid overloading the shelves: Make sure to distribute the weight evenly on the shelves and avoid overloading them with heavy items.
- Use shelf liners: Shelf liners can help protect the shelves from scratches, stains, and moisture. Choose a liner that is compatible with the material of the shelf and the items you'll be storing on it.
- Keep the closet clean and dry: Regularly clean the closet and remove any dust, debris, or spills. Make sure the closet is well-ventilated to prevent moisture buildup.
Conclusion
Repairing a cracked closet shelf is a relatively simple DIY project that can save you time and money. By following these steps, you can easily repair minor cracks in your closet shelves and restore them to their original condition. If you're unsure about how to repair a crack or if the damage is more severe, it's always a good idea to consult a professional.
As a closet shelf supplier, I offer a wide range of high-quality shelves and accessories to meet your storage needs. Whether you're looking for a simple closet shelf or a custom-built storage solution, I can help you find the perfect product for your home. If you're interested in learning more about our products or if you have any questions, please don't hesitate to [contact me for procurement and negotiation].
References
- "How to Repair a Cracked Wood Shelf." This Old House. Accessed [Date].
- "Repairing a Cracked Particleboard Shelf." Family Handyman. Accessed [Date].
- "Epoxy Resin for Wood Repair." Bob Vila. Accessed [Date].
In addition to the above steps, you may also consider using some of our related products to enhance the functionality and aesthetics of your closet. For example, our Spray Hanger is a great way to organize your spray bottles and keep them within easy reach. Our Display Props can help you showcase your clothing and accessories in a stylish way, while our Display Rack is perfect for displaying shoes, handbags, and other items.
If you're interested in learning more about these products or if you have any questions, please don't hesitate to [contact me for procurement and negotiation]. I'm always happy to help you find the perfect solutions for your closet storage needs.


