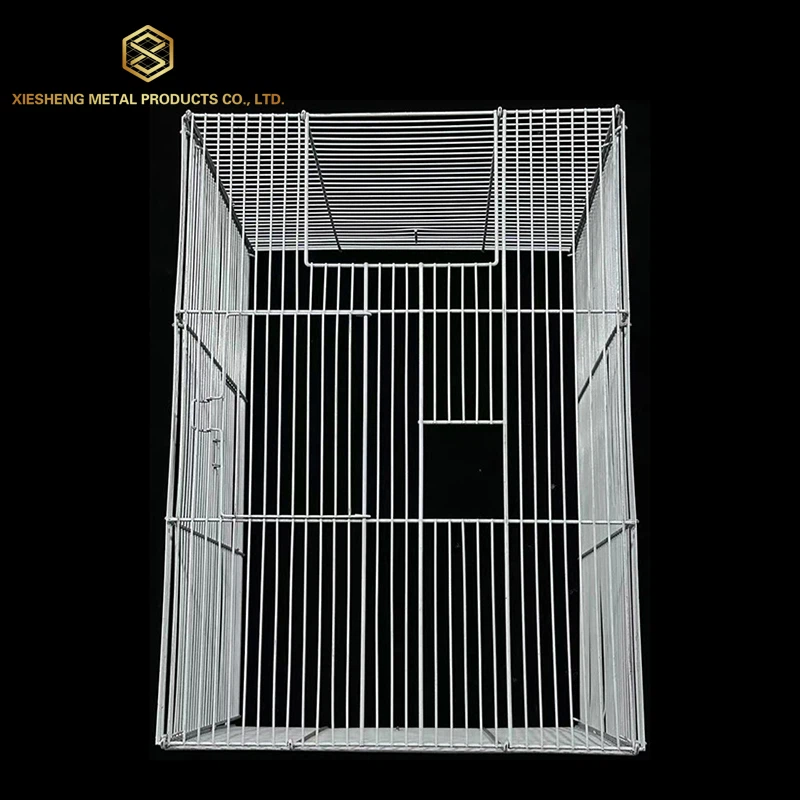

Hey there, fellow hamster lovers! I'm stoked to share my insights on making a DIY hamster cage. As a supplier of Hamster Cage, I've seen all sorts of cages, from the basic to the super fancy. And let me tell you, there's something really special about creating a custom home for your little furry friend.
Why Go for a DIY Hamster Cage?
First off, why should you even bother making your own hamster cage? Well, there are a bunch of reasons. For starters, it can save you some serious cash. Buying a pre - made cage can be pretty expensive, especially if you're looking for a high - quality one. With a DIY cage, you can source materials on a budget and still end up with a great result.
Another reason is customization. You can design the cage exactly the way you want it. Maybe your hamster loves to climb, so you can add lots of ramps and platforms. Or perhaps they're a burrower, and you can create a deep bedding area. The possibilities are endless when you build it yourself.
Materials You'll Need
Before you start building, you'll need to gather some materials. Here's a list of the basics:
- A Container: You can use a plastic storage bin, a glass aquarium, or even an old bookshelf. Just make sure it's big enough for your hamster to move around comfortably. A good rule of thumb is at least 360 square inches of floor space for a Syrian hamster and 240 square inches for a dwarf hamster.
- Mesh or Wire: This is for ventilation. You'll need to cut holes in your container and cover them with mesh or wire to keep your hamster in and let fresh air in.
- Tools: You'll need a drill, a saw (if you're cutting wood or plastic), a pair of scissors, and some glue or tape to secure the mesh.
- Bedding: Aspen shavings, paper - based bedding, or shredded tissue paper are all good options. Avoid cedar and pine shavings as they can be harmful to your hamster's respiratory system.
- Accessories: Think about adding things like a water bottle, a food dish, a hideout, and some chew toys. You can find these at your local pet store or make them yourself.
Step - by - Step Guide
Step 1: Choose Your Container
As I mentioned earlier, you have a few options for your container. If you're using a plastic storage bin, make sure it's made of a non - toxic plastic. Glass aquariums are great because they're easy to clean and provide good visibility, but they can be heavy and breakable. An old bookshelf can be transformed into a multi - level hamster mansion, which is super cool.
Step 2: Create Ventilation Holes
Using a drill, make holes in your container. The size and number of holes will depend on the size of your container. For a plastic bin, you can make holes about 1/2 inch in diameter, spaced a few inches apart. Once you've drilled the holes, cover them with mesh or wire. You can use zip ties or glue to secure the mesh in place.
Step 3: Add a Door
If your container doesn't have a built - in door, you'll need to create one. You can cut a rectangle in the side of your container and attach a piece of mesh or wire to it with hinges. Make sure the door is big enough for you to access the cage easily but small enough to keep your hamster from escaping.
Step 4: Line the Cage
Spread a layer of bedding on the bottom of the cage. The bedding should be at least 2 - 3 inches deep to allow your hamster to burrow. You can also add some shredded paper or tissue for extra comfort.
Step 5: Install Accessories
Place the water bottle, food dish, hideout, and chew toys in the cage. Make sure the water bottle is at a height where your hamster can easily reach it. You can also add some ramps and platforms to create a more interesting environment.
Different Cage Ideas
The Bookshelf Cage
As I said, an old bookshelf can be a great base for a hamster cage. You can use each shelf as a different level and connect them with ramps. Line the shelves with bedding and add some hideouts and toys. This type of cage is perfect for hamsters that love to explore.
The Modular Cage
You can use multiple plastic storage bins and connect them with tubes to create a modular cage. This allows you to expand the cage as your hamster grows or if you want to add more features. You can also stack the bins to save space.
Safety Considerations
- Avoid Toxic Materials: As I mentioned before, stay away from cedar and pine shavings. Also, make sure any glue or tape you use is non - toxic.
- Secure the Cage: Make sure all the parts of the cage are securely attached. You don't want your hamster to be able to chew through the mesh or push the door open.
- Keep it Clean: Regularly clean the cage to prevent the buildup of bacteria and odors. Replace the bedding at least once a week.
Our Products as a Supplier
At our Hamster Cage supply, we offer a wide range of products that can complement your DIY hamster cage. If you're looking for a professional - grade display for your pet store, check out our Pet Store Display Cage. It's designed to showcase your hamsters in a stylish and functional way.
We also have Rabbit Cage options if you're thinking about expanding your pet family. Our cages are made from high - quality materials and are built to last.
Contact Us for Purchasing
If you're interested in purchasing any of our products or have questions about DIY hamster cages, we'd love to hear from you. Whether you're a pet store owner looking to stock up on cages or an individual hamster enthusiast, we can provide you with the best solutions. Reach out to us to start a discussion about your needs and how we can help you create the perfect home for your furry friends.
References
- "The Hamster Handbook" by Kim Schilling
- Various online resources from reputable hamster care websites
So there you have it, folks! Making a DIY hamster cage is a fun and rewarding project. With a little creativity and some basic tools, you can create a unique and comfortable home for your hamster. And don't forget to check out our products if you need any supplies. Happy building!