


As a supplier of Shelf Grids, I'm often asked about the best ways to install them. Proper installation is crucial for ensuring the functionality, durability, and safety of your shelf grids. In this blog post, I'll guide you through a step - by - step process on how to install shelf grids correctly.
Step 1: Preparation
Before you start the installation process, it's essential to gather all the necessary tools and materials. You'll need a measuring tape, a level, a drill, screws, a screwdriver, and of course, your Shelf Grids. You can find high - quality Shelf Grids on our website Shelf Grids.

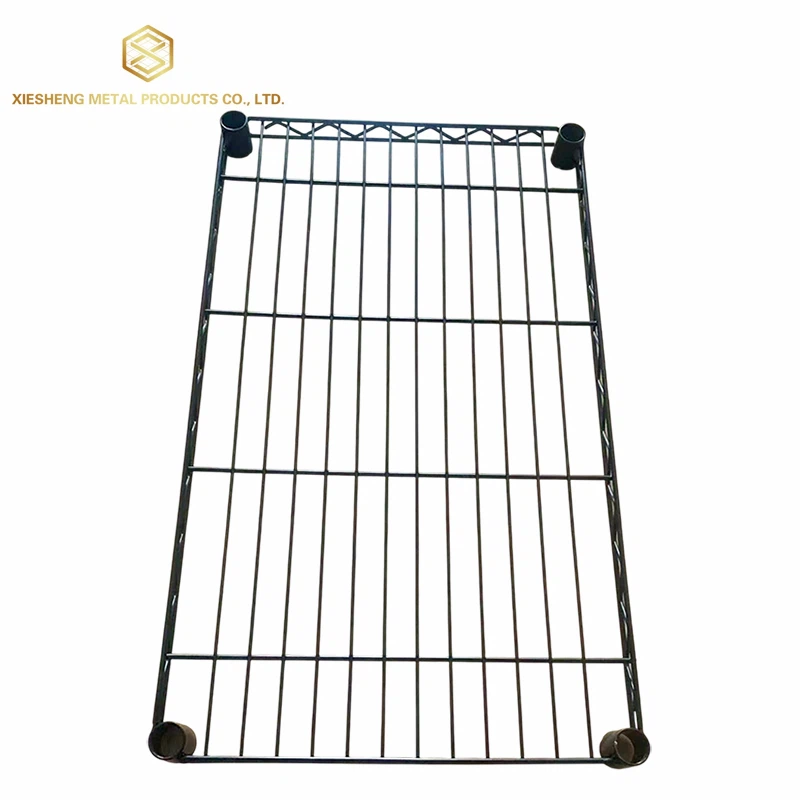
First, measure the area where you plan to install the shelf grids. Make sure to measure both the length and width accurately. This will help you determine how many shelf grids you need and how they should be arranged.
Next, check the level of the installation surface. A level surface is important to ensure that the shelf grids are stable and won't wobble. Use a level tool to identify any unevenness. If there are minor uneven areas, you can use shims to level the surface.
Step 2: Marking the Installation Points
Once you've measured and ensured the surface is level, it's time to mark the installation points. Place the shelf grid against the wall or the surface where it will be installed. Use a pencil to mark the holes on the grid where you'll be inserting the screws.
If you're installing multiple shelf grids side by side, make sure to align them properly. You can use a straight edge or a level to ensure that the grids are in a straight line. Mark the holes on each grid carefully, taking into account the spacing between the grids.
Step 3: Drilling the Holes
After marking the installation points, use a drill to create holes in the wall or surface. The size of the drill bit should match the size of the screws you'll be using. Start by drilling small pilot holes to guide the screws and prevent the wood or other materials from splitting.
Be careful when drilling, especially if you're working on a wall with electrical wires or plumbing. If you're unsure, it's a good idea to use a stud finder to locate the studs in the wall. Screwing the shelf grids into the studs will provide more stability and support.
Step 4: Inserting the Screws
Once the holes are drilled, it's time to insert the screws. Place the shelf grid back against the wall and align the holes on the grid with the holes in the wall. Insert the screws through the holes in the grid and into the holes in the wall. Use a screwdriver to tighten the screws securely.
Don't over - tighten the screws, as this can damage the grid or the wall. Make sure the screws are tightened enough to hold the grid firmly in place, but not so tight that they cause the grid to warp or the wall to crack.
If you're installing multiple shelf grids, repeat the process for each grid, making sure to align them properly and keep them level. You may need to use a level again during the screwing process to ensure that the grids remain straight.
Step 5: Securing the Shelf Grids
After inserting the screws, give the shelf grids a gentle shake to check for stability. If the grids are wobbly, check the screws to make sure they're tightened properly. You may need to adjust the screws or add additional support if necessary.
In some cases, you may want to use additional accessories to secure the shelf grids further. For example, you can use Protective Nets to prevent items from falling off the shelves. These nets can be attached to the edges of the shelf grids using clips or ties.
Step 6: Testing the Shelf Grids
Once the installation is complete, it's important to test the shelf grids. Place some light items on the shelves to check if they can support the weight. Gradually add more items to the shelves to test their maximum load - bearing capacity.
Make sure the shelves are stable and don't sag under the weight of the items. If you notice any signs of instability or sagging, you may need to reinforce the installation or adjust the position of the grids.
Step 7: Maintenance and Care
After installing the shelf grids, it's important to maintain and care for them properly. Regularly clean the grids to remove dust and debris. You can use a soft cloth or a vacuum cleaner with a brush attachment to clean the grids.
Inspect the grids periodically for any signs of damage, such as loose screws, bent wires, or rust. If you find any damage, repair or replace the affected parts as soon as possible to ensure the continued safety and functionality of the shelf grids.
In addition to shelf grids, we also offer Cement Mesh, which can be used in various construction and DIY projects. Cement mesh provides reinforcement and stability, making it a great addition to your home improvement projects.
Conclusion
Installing shelf grids is a relatively straightforward process if you follow the right steps. By preparing properly, marking the installation points accurately, drilling the holes correctly, and securing the grids firmly, you can ensure a successful installation.
Remember to test the shelf grids after installation and maintain them regularly. If you have any questions or need further assistance with the installation of Shelf Grids, feel free to reach out to us. We're here to help you make the most of our products.
If you're interested in purchasing Shelf Grids, Protective Nets, Cement Mesh, or other related products, please contact us for more information. Our team of experts is ready to assist you with your procurement needs and answer any questions you may have. Let's start a great business cooperation together!
References
- Home Improvement Handbook: A Guide to DIY Projects.
- Shelf Installation Manuals from Industry Leaders.


