


Hey there! As a supplier of Cement Mesh, I've gotten a ton of questions about how to install it on a tiled surface. It might seem like a tricky task at first, but with the right steps and a bit of know - how, you can get it done smoothly. So, let's dive right in!
Why Use Cement Mesh on a Tiled Surface?
Before we get into the installation process, you might be wondering why you'd even want to install Cement Mesh on a tiled surface. Well, Cement Mesh, which you can learn more about here, provides extra reinforcement. It helps prevent tiles from cracking or shifting over time, especially in high - traffic areas or places prone to movement. It also adds a layer of stability, making your tiled surface last longer.
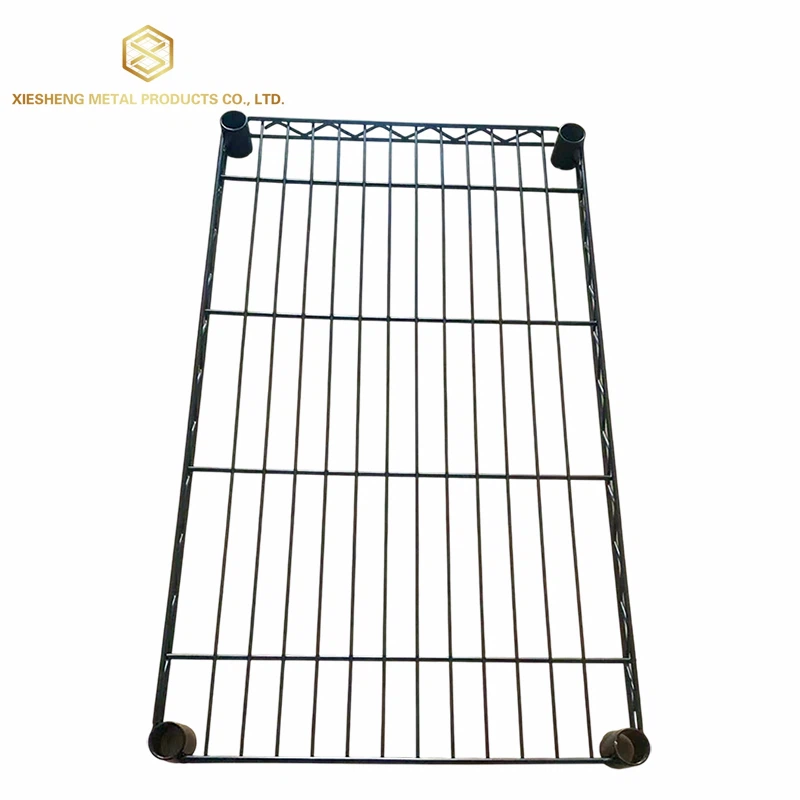

What You'll Need
First off, gather all the necessary tools and materials. You'll need:
- Cement Mesh: Of course, this is the star of the show. Make sure you have enough to cover the area you're working on.
- Adhesive: A good quality tile adhesive that's suitable for your type of tiles and the surface you're applying it to.
- Trowel: For spreading the adhesive.
- Utility knife: To cut the Cement Mesh to size.
- Measuring tape: To measure the area and cut the mesh accurately.
- Roller: To ensure good contact between the mesh and the adhesive.
Step 1: Prepare the Tiled Surface
The first step is to clean the tiled surface thoroughly. Remove any dirt, dust, grease, or old adhesive. You can use a mild detergent and water to clean the tiles. Scrub gently with a sponge or a soft - bristled brush, then rinse the surface well and let it dry completely. This is crucial because any debris or moisture can prevent the adhesive from bonding properly.
Step 2: Measure and Cut the Cement Mesh
Take your measuring tape and measure the area of the tiled surface where you want to install the Cement Mesh. Be as accurate as possible. Once you have the measurements, use a utility knife to cut the Cement Mesh to the appropriate size. You might need to make some adjustments as you go, especially if the area has irregular shapes. It's better to cut the mesh slightly larger than the area and trim it down later.
Step 3: Apply the Adhesive
Now it's time to apply the tile adhesive. Using a trowel, spread a thin, even layer of adhesive over the tiled surface. The thickness of the adhesive layer will depend on the type of adhesive you're using, so follow the manufacturer's instructions. Make sure to cover the entire area where the Cement Mesh will be placed.
Step 4: Install the Cement Mesh
Carefully place the cut Cement Mesh onto the adhesive - covered surface. Start from one corner and gradually lay it down, smoothing out any wrinkles or air bubbles as you go. Use a roller to press the mesh firmly into the adhesive, ensuring good contact across the entire surface. This will help the mesh bond well with the adhesive and the tiled surface.
Step 5: Trim the Excess Mesh
Once the Cement Mesh is in place, use a utility knife to trim any excess mesh around the edges. Make clean, straight cuts for a neat finish. You can also use the trimmed pieces for smaller areas or patches if needed.
Step 6: Let it Cure
After installing the Cement Mesh, let the adhesive cure according to the manufacturer's instructions. This usually takes a few hours to a day, depending on the type of adhesive and the environmental conditions. Avoid walking on the surface or applying any stress to it during the curing process.
Tips and Tricks
- If you're working on a large area, it's a good idea to divide it into smaller sections and install the mesh one section at a time. This makes the process more manageable and ensures better results.
- When cutting the Cement Mesh, wear gloves to protect your hands from any sharp edges.
- If you encounter any stubborn air bubbles under the mesh, you can use a pin or a small needle to prick them and then smooth the mesh again.
Other Related Products
In addition to Cement Mesh, we also offer Shelf Grids and Protective Nets. Shelf Grids are great for organizing and supporting items on shelves, while Protective Nets can be used in various applications to provide a safety barrier.
Contact Us for Purchase
If you're interested in purchasing Cement Mesh or any of our other products, feel free to reach out. We're always happy to answer your questions, provide more information, and discuss your specific needs. Whether you're a DIY enthusiast or a professional contractor, we have the right products for you.
References
- Tile Installation Guide - General industry best practices for tile and mesh installation.
- Manufacturer's instructions for tile adhesive and Cement Mesh.


