


Hey there! As a supplier of Cement Mesh, I often get asked about how it's installed. So, I thought I'd put together this blog post to walk you through the whole process. Whether you're a DIY enthusiast or a professional contractor, this guide should help you get the job done right.
First off, let's talk a bit about what Cement Mesh is. It's a type of mesh made from high - strength materials, usually steel or fiberglass, and it's designed to reinforce concrete structures. It adds strength and durability, preventing cracks and enhancing the overall performance of the concrete. You can learn more about it on our Cement Mesh page.
Preparation Before Installation
Before you start installing Cement Mesh, there are a few things you need to do.
1. Measure the Area
You've got to measure the area where you'll be installing the mesh accurately. This will help you determine how much mesh you need. Make sure to account for any curves or irregular shapes in the area. You don't want to end up with too much or too little mesh.
2. Gather Your Tools
You'll need a few tools for the installation. These include wire cutters to cut the mesh to size, rebar supports to hold the mesh in place, and a hammer or mallet. You might also want to have safety gear like gloves and goggles, as the mesh can be sharp.
3. Clean the Area
The area where you'll install the mesh should be clean. Remove any debris, dirt, or loose material. This ensures that the mesh adheres well to the surface and that the concrete will bond properly.
Cutting the Cement Mesh
Once you've measured the area and gathered your tools, it's time to cut the mesh.
Using Wire Cutters
Wire cutters are the most common tool for cutting Cement Mesh. Just place the mesh on a flat surface and line up the wire cutters at the point where you want to make the cut. Then, squeeze the handles firmly to cut through the wires. It's pretty straightforward, but be careful not to cut yourself on the sharp edges.
Cutting to Size
Cut the mesh to fit the area you measured earlier. You may need to make multiple cuts if the area is large or has an irregular shape. Try to make the cuts as straight as possible for a neat installation.
Placing the Cement Mesh
Now that you've cut the mesh to size, it's time to place it in the area.
Using Rebar Supports
Rebar supports are used to hold the mesh off the ground or the surface. They keep the mesh at the right height so that it's properly embedded in the concrete. Place the rebar supports at regular intervals, usually about 2 - 3 feet apart, depending on the size and weight of the mesh.
Positioning the Mesh
Carefully lay the mesh on top of the rebar supports. Make sure it's centered in the area and that there are no wrinkles or folds. If the area is large, you may need to overlap multiple pieces of mesh. Overlap the pieces by at least 6 inches to ensure a strong connection.
Securing the Cement Mesh
After placing the mesh, you need to secure it in place.

Tying the Mesh
Use wire ties to secure the mesh to the rebar supports. Wrap the wire around the intersection of the mesh and the support and twist it tightly with pliers. Make sure to tie the mesh at all the intersections for maximum stability.
Checking for Stability
Once you've tied the mesh, give it a little shake to make sure it's stable. If it moves around too much, go back and tighten the wire ties or add more supports.
Pouring the Concrete
Now comes the exciting part - pouring the concrete!
Preparing the Concrete
Mix the concrete according to the manufacturer's instructions. You can use a concrete mixer or mix it by hand if it's a small area. Make sure the concrete has the right consistency - it should be thick enough to hold its shape but still easy to pour.
Pouring the Concrete
Slowly pour the concrete over the mesh. Start at one end of the area and work your way across. Use a shovel or a rake to spread the concrete evenly over the mesh. Make sure the mesh is completely covered with concrete.
Finishing the Surface
After pouring the concrete, use a trowel to smooth the surface. You can create different finishes, like a smooth finish or a textured finish, depending on your preference. Let the concrete dry according to the manufacturer's instructions before walking on it or using the structure.
Other Applications of Similar Products
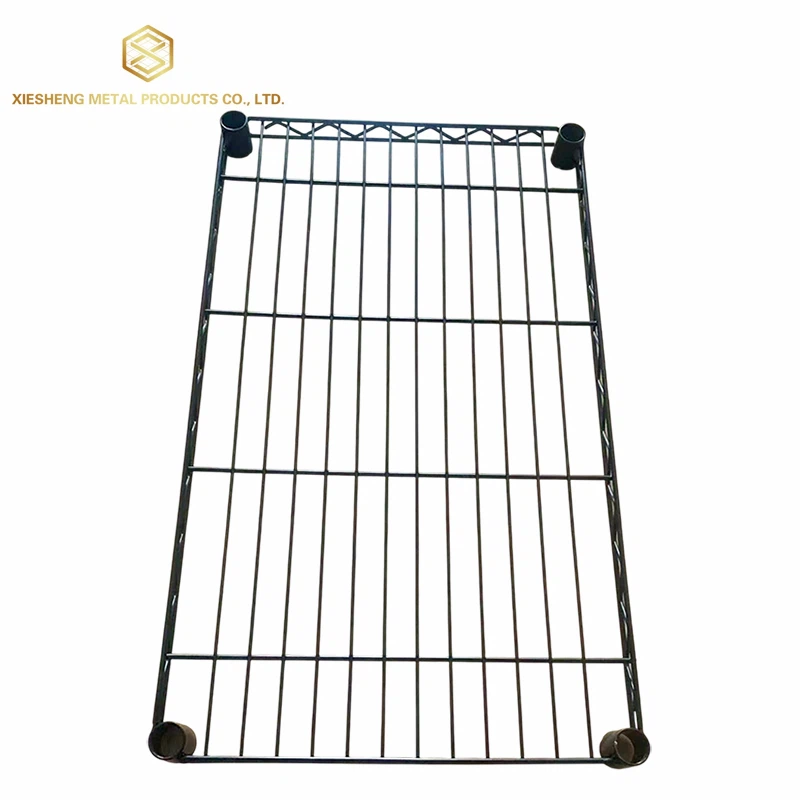
Cement Mesh is just one of the many products we offer. We also have Shelf Grids and Protective Nets. Shelf Grids are great for creating storage solutions, while Protective Nets can be used for safety purposes in various applications.
Conclusion
Installing Cement Mesh isn't too difficult if you follow these steps. It's an important part of creating strong and durable concrete structures. Whether you're building a patio, a driveway, or a retaining wall, Cement Mesh can make a big difference in the longevity of your project.
If you're interested in purchasing Cement Mesh or any of our other products, don't hesitate to reach out. We're here to help you with your construction needs and provide you with high - quality products at competitive prices. Let's start a conversation about your project and see how we can assist you!
References
- Construction Materials Handbook: A guide to different types of construction materials and their installation methods.
- DIY Concrete Projects: A book with step - by - step instructions for various concrete projects.


